
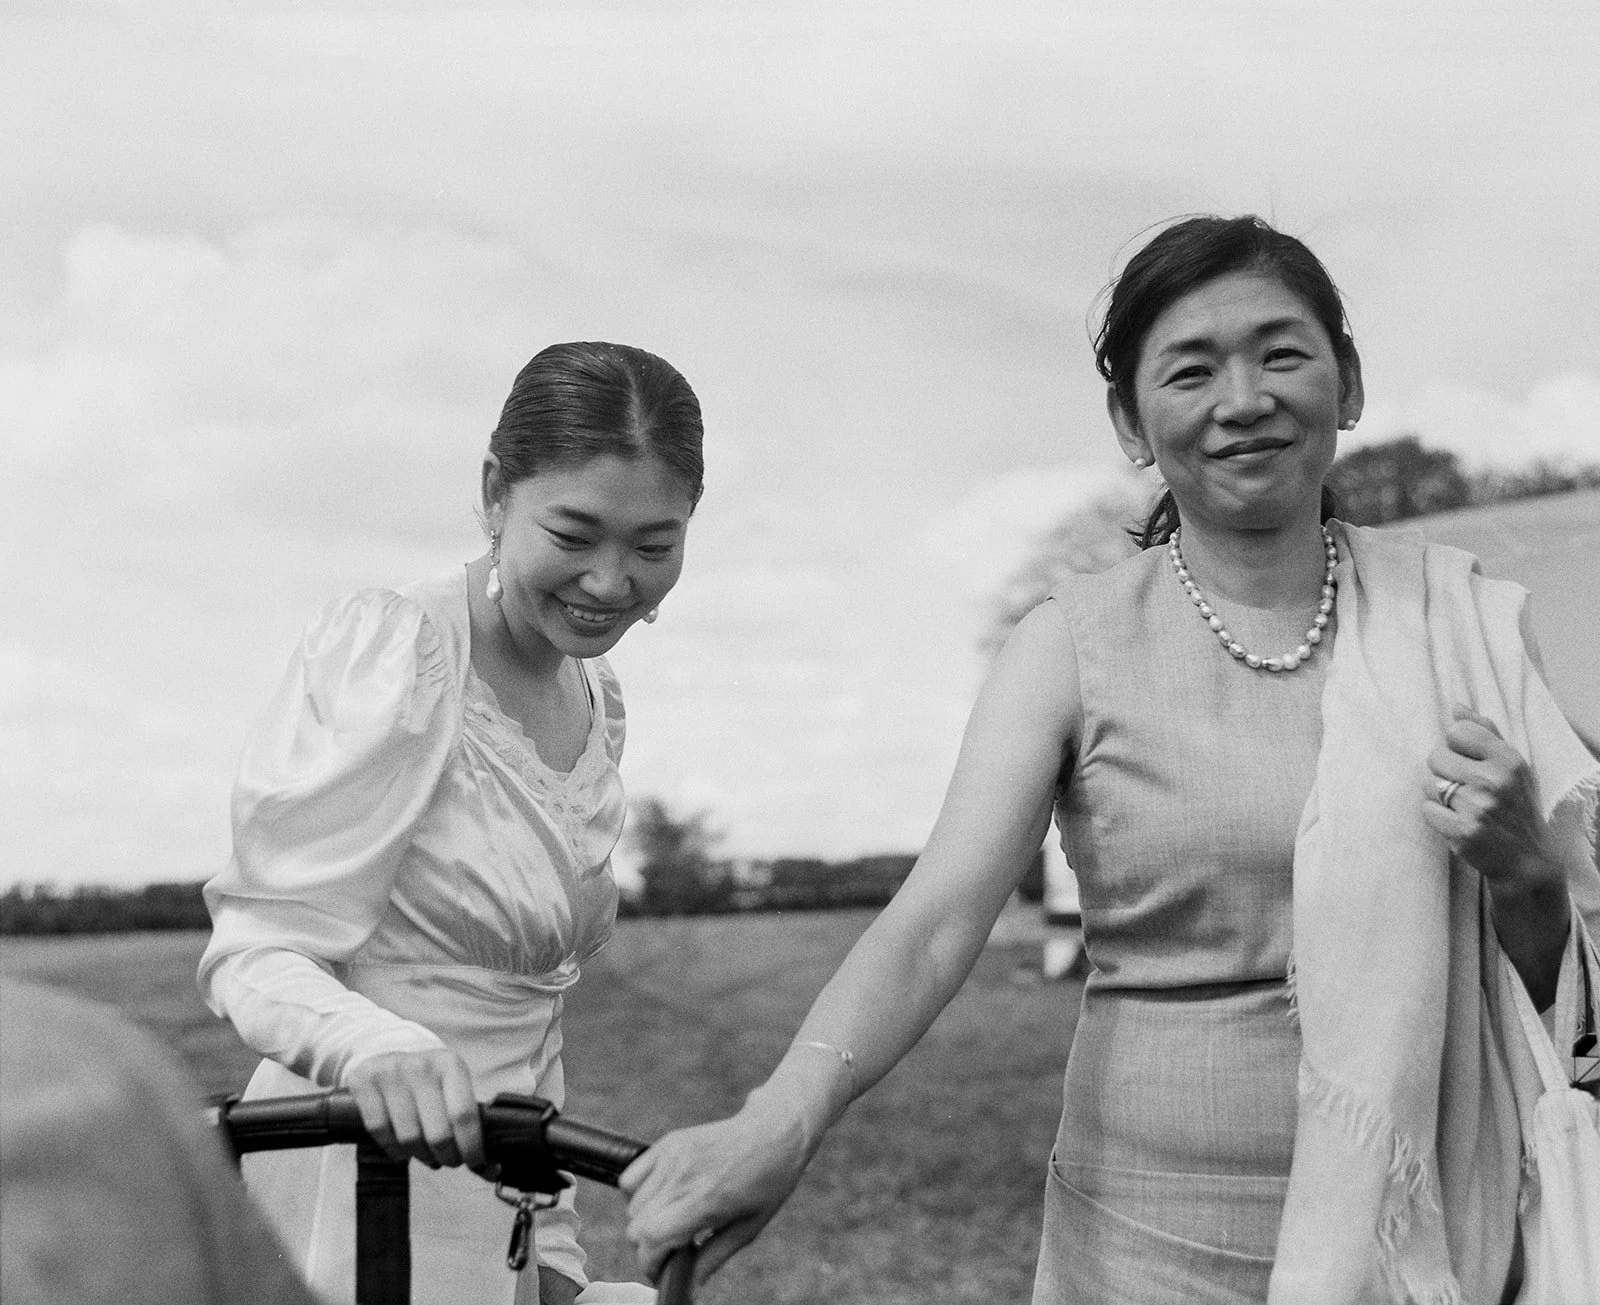
Organising a wedding is something most people who are not wedding planners hope to do only once in their lifetime. This novelty makes everything feel extra exciting but also intimidating - making choices that will greatly affect one of the most memorable days of your life with no prior experience to rely on is overwhelming to say the least. Asking friends for advice can only go a certain way, as weddings are a deeply subjective experience and people want to do theirs their own way instead of just copying whatever has been done before. Throw film photography into the equation, with a plethora of new and technical terms, and decision-making probably feels impossible.
To try to make things a bit simpler for couples trying to make a choice, I have created a glossary of the most common terms used when talking about film photography. This is not a comprehensive list but I’ll keep adding terms to it when they come to mind. The idea is that they'll help couples who have never shot film before but really like the look of it, or couples who already shoot film in their personal lives but still feel like some of the terms I use when explaining the process are a bit confusing.
A GLOSSARY OF FILM PHOTOGRAPHY
-
The term “archival” or “musem-grade” print has been used loosely by printing companies to refer to prints that are of higher quality and, when printed with inkjet technology, work with pigments that can reproduce color in a larger range. In reality, a print should be considered “archival” only when produced with materials that will survive over 100 years without degrading.
For film prints produced in a darkroom (where no dyes or pigments are involved), only the paper matters: archival prints generally refer to prints created with Fiber Paper (as opposed to resin coated paper). Fiber Paper is also called Fine Art paper. The most known type of Fine Art paper is Baryta. All archival prints should be acid-free to increase its lifespan. -
When a film negative is scanned to become a digital file or enlarged in a darkroom, a small part of the negative surrounding each frame can be seen through the film holder. Although this border looks completely transparent when you look at the negative, it becomes pitch black once scanned or printed (as the film negative is a negative image, so anything that is transparent becomes black and vice-versa). These borders can be removed, both when darkroom printing and when the digital file is edited, but they can also be left in the image. The black borders are becoming increasingly popular so we see more and more of them in film photos. For my galleries, I tend to only leave them on when I think they add to the overall aesthetic of the image.
-
A darkroom is a room designed to develop film and create silver gelatine prints. As both film and darkroom printing paper that haven't yet been developed are sensitive to light, the room needs to be in complete darkness. For Black & White developing and printing, a safety red light can be on as that type of film is not sensitive to red light. Color film developing and printing needs to be done in total darkness.
-
An enlarger is a machine designed to project light through a negative frame and into a larger surface. The image we want to print is added to a film holder that is positioned close to a light-bulb, and this image is then projected into the bottom of the enlarger, where there is is a flat surface with enough space to hold light-sensitive papers of various sizes. Light from the bulb then hits the paper for a certain number of time, creating a latent image. The paper then needs to go through three different “baths” with chemicals that will first reveal the latent image (so it becomes visible), then stop the reaction and fix the image into the paper permanently. The process is essentially the same for both black and white and colour negatives, but each will use different types of color filters between the light-bulb and the negative for different results.
-
Film format refers to the size of the film negative being used. For photography, the three available formats are 35mm (also called 135), medium format (or 120), and large format (sheet film). For 35mm film, all cameras will produce images with a maximum 35mm width. Medium format cameras produce negatives that are much larger, ranging from 6×4.5mm to 6×7mm. Because the negatives are so much larger, medium format photos have a lot more information and much finer detail. The cameras are also much larger and tend to be slower, though, and can only shoot a maximum of 15 frames per roll (as opposed to the 36 frames of 135 cameras)
-
This describes the range of light (from total darkness to complete white) that film is able to capture with some detail. BW film has around 11 to 14 stops of dynamic range, while colour film has up to 18 stops of dynamic range.
-
A stop is a light-measurement unit that doesn't measure light in absolute amounts, but simply means doubling or halving the amount of light available in any situation. This is extremely useful in photography because we deal with many variables that can affect the amount of light that reaches the film, so working with one unit that can be used across these variables is essential. When we say we want to increase the light by one stop, we mean doubling the light we currently have. If we increase it by 2 stops, we add 4x the light we currently have. We can then decide if this will be done by opening the lens aperture or increasing the time the film is being exposed to light (with film, changing the ISO is not possible as with digital cameras, so the decision of which ISO to use must be done before the film is loaded onto the camera).
-
Film images are created by exposing silver halide crystals to light and “burning” them. During the development process, the exposed crystals will gather into multiple different “clusters” of silver. These clusters can be seen in the print as a sort of “texture", or “grain". It is the smallest visible part of a film image, and the size of the “grain” varies widely depending on which type of film was used, how it was processed and how much light the film received.
Grain is the film equivalent of pixels, thought it looks much nicer - you want your film images to have visible grain, whereas a “pixelated” image is generally a bad sign.
-
A film image is a physical thing. Once film is developed, the image only exists into the film negative. To turn it into a digital file, a scanner is needed. The process of scanning a negative is similar to the process of enlarging it for printing, but the final result is an image that is then colour-corrected to become a final digital file.
-
Scans are the files we get from a film negative after it's digitised. When a wedding gallery is delivered, what you receive are the film scans.
-
A negative is what we call the film after being developed. The images on the negative are “reversed", so anything that received a lot of light will look dark and vice-versa. It is the exact opposite of what the final image will look like. Color positive (or slide) film also exists, and in this case the final image seen on the film after developing is the exact match of what the final image would look like. Color positive film can no longer be turned into paper prints in a darkroom to produce satisfactory results, so I don't use it.
-
A light meter is a tool that measures the total amount of light falling into a subject (or reflecting off a subject). Most modern cameras have built-in light meters, but handheld light meters tend to give way more accurate results. Because film doesn't allow us to look at the resulting image and make technical decisions like we do with digital cameras, a handheld light meter is an extremely valuable tool for film photographers as it gives us accurate measurements that help visualise the final image even without seeing it, and make important creative decisions that can greatly impact our results. I use the Sekonic L-308S incident light meter and have been working with different versions of it for more than 8 years with little complaints.
-
When film is exposed to light, it creates what we call a latent image. The image can't be seen yet, even if you look at the film roll in a darkroom, as it requires a chemical process to become visible. The chemical used to turn a latent image into a negative is called “developer".
-
A handprint or silver gelatine print is a print created from a film negative in a darkroom. It requires a film image, photo sensitive paper, a negative enlarger and a chemical process to turn the exposed paper into a final print. Hand printing is an artisanal process, as the final print can be greatly transformed by small changes during each step. A hand print is almost impossible to replicate as it requires the same negative image and the exact same printing parameters.
-
For film photography, ISO is a measurement of a film stock's sensitivity to light. Each film stock will have a different sensitivity, usually added to the film name and very easy to spot (think of Portra 400, for example, which has half the sensitivity of Portra 800). As film sensitivity increases, so does the size of the final film grain. Ilford 3200, for example, is 8 times more sensitive than Portra 400 or Ilford Delta 400, but has much more noticeable grain.
-
The pain point for most film photographers. Leaving camera and lens prices aside (although these can be substantial), the cost of shooting film involves both the cost of film rolls and the cost of having it developed and scanned. Up to 2019, a pack of 5 rolls of Portra 400 (the color film I use the most) used to cost around 40€. It has since jumped to almost 100€. Even if we take into account how much it costs to invest in digital equipment, buying SD cards and external hard drives etc., shooting film is still considerably more expensive than shooting digital. If shooting exclusively on film, these costs become dramatically higher, which is why so many photographers choose to use film just as an add-on or an extra element in their digital workflow. Shooting exclusively on film is a choice that's hard to justify on financial grounds - it's not the most efficient choice nor the most profitable, but it is definitely the most enjoyable and the most fulfilling. I couldn't imagine myself as a wedding photographer if I didn't shoot film exclusively, so the choice for me is a simple one regardless of cost efficiency.